MAP Installation and Setup Guide
This document describes how to install and setup the MAP software for use on your machine. The MAP software is a Python application that uses the PySide Qt library bindings. The instructions in this document cover the installation and setup on a Windows based operating system. The instructions for GNU/Linux and OS X are similar and should be extrapolated from these instructions. There are some side notes for these other operating systems to help, but not full or dedicated instructions. If for any reason you get stuck and cannot complete the instructions please contact us.
MAP
The MAP framework is written in Python and is designed to work with Python 2 and Python 3. The MAP application is tested against Python2.6, Python2.7 and Python3.3 and should work with any of these Python libraries. Currently the MAP framework is not packaged as an application, requiring the user to set up the environment prior to launching the mapclient.py executable Python script.
The MAP application consists of the framework and various tools, by itself it can do very little. It is the job of the plugins to provide functionality. The MAP application as referred to in this section of the instructions may be described as the barebones application for this reason.
To execute the barebones application we need to first install some dependencies:
- Python (and make sure to add the Python and Python\Scripts folders to your system PATH).
- PySide (PySide and PyQt4 are virtually interchangeable but currently this would require some textual changes)
- Python setup tools and then using easy_install.exe to install:
Also, if we wish to interact with the Physiome Model Repository (PMR) we need:
We can now install the barebones MAP client application. The barebones application can be launched via the command window with the following command in the extracted mapclient/src folder:
mapclient.py
which should result in an application window similar to that shown below.
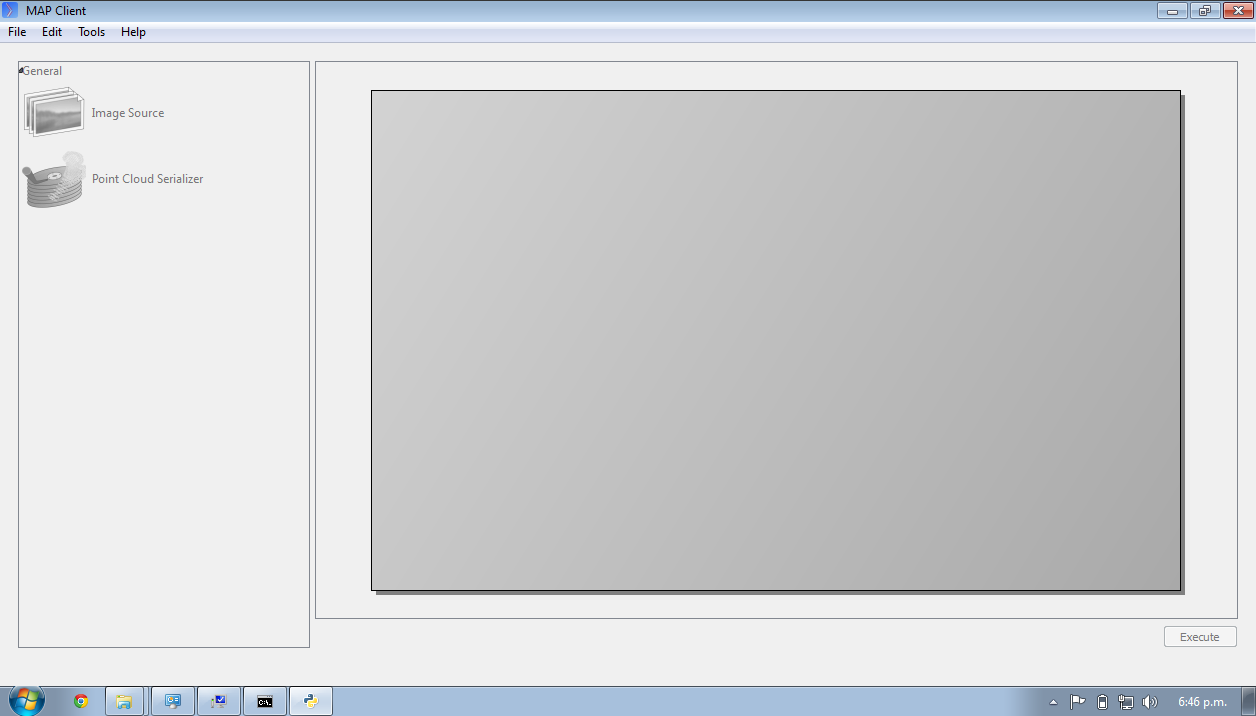
Now that the barebones MAP application is installed and running we can move on to some useful plugins.
MAP Plugins
The installation of MAP plugins simply requires obtaining the plugins and then using the MAP plugin manager to let the MAP client know where to look for plugins. Furthermore, there is a github project which is used to provide a common collection of MAP plugins. For the purposes of this tutorial, the autosegmentationstep plugin will be used. You can download a copy of the plugin, extract it, and then follow the instructions for adding the folder in which you extracted the plugin to the MAP plugin manager.
Zinc and PyZinc
Zinc is an advanced field manipulation and visualisation library and PyZinc provides Python bindings to the Zinc library. Binaries are available for download for Linux, Windows, and OS X. The MAP client is able to make use of Zinc for advanced visualisation and image processing steps. To get PyZinc installed, follow these steps:
- Install Zinc using either: the Windows installer (ensuring that you enable the option for the installer to add Zinc to the system PATH); or unzip the archive and manually copy library file to somewhere on your PATH (which could include the PyZinc installation folder).
- Unzip the downloaded PyZinc archive.
- In a command window, change into folder PyZinc extracted into.
- Execute the following command: python setup.py install (this uses a similar mechanism as the easy_instal software above..
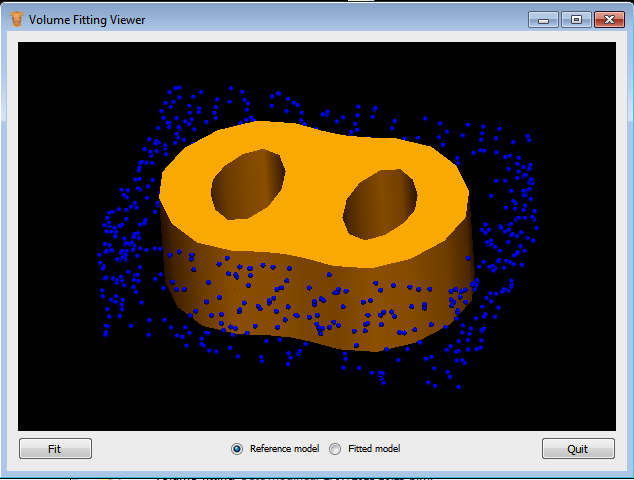
You can check that you have Zinc and PyZinc correctly installed and functional by running the volume_fitting.py application provided with the tutorial materials. If Zinc and PyZinc are working you should get an application window similar to that shown below with the interactive three-dimensional model viewer shown. Note you will need to restart the command window after installing PyZinc in order to refresh the system PATH.
Which Binary?
There are a number of binaries available for any given platform and you must match the package description with your system setup. The package description contains the package name, package version, package architecture, package operating system and in the case of PyZinc the package Python version. The package extension indicates the type of package and they come in two main flavours: installer/package manager; archive.
Additionally the version of the PyZinc binaries you download must match the version of the Zinc library binaries.